Leaky pipe? 24/7 help available. Call Us Anytime.
Act fast. Water spreads quickly, drives up bills, and can damage floors, walls, and electrics. These quick fixes buy you time—or solve it outright—until an engineer attends.
//CONTACT US
Need help fast?
24/7 emergencies, ~1-hour ETA. Certified plumbing, heating/boiler, drainage, gas and electrical engineers—transparent pricing, fully insured, UK-wide. Call or book online.
1) Kill the water, protect the area
- Turn off the stopcock (usually under the kitchen sink or in a utility cupboard). Turn clockwise.
- Open taps to drain pressure from the line.
- Protect electrics: if water is near sockets or the consumer unit, switch power off to that circuit or the whole property if needed.
- Contain the leak with towels, a bucket, or a tray.
Good to know: If only one fixture leaks (e.g., toilet or basin), you can often isolate just that feed using the little slotted isolation valve on the pipe—turn it a quarter turn with a flat screwdriver.
2) Tighten or reseat the joint
Many leaks start at compression or push-fit joints.
- Compression joints (nut & olive): Gently tighten the nut ¼ turn with two spanners (one to hold the body, one to turn the nut). Don’t overtighten—if it still weeps, turn the water off and re-make the joint with a new olive or add a few wraps of PTFE tape on the olive/thread.
- Push-fit (plastic): Push the pipe fully home. If it still leaks, remove it by pushing the collet ring in, pull the pipe out, check the O-ring, re-insert clean, straight, and to the depth mark.
3) Patch small weeps: self-fusing tape or epoxy putty
For pinholes or hairline cracks in accessible straight sections:
- Self-fusing silicone tape (rescue tape): Dry the pipe, stretch the tape to activate it, and wrap tightly with at least 50% overlap over and beyond the leak area (3–5 cm each side).
- Epoxy repair putty (water pipe safe): Knead until uniform colour, press around the leak, feather edges, and allow the stated cure time. Works on copper and many plastics.
These are excellent temporary fixes that often last weeks to months if applied well.
4) Use a repair clamp/coupler for a neat fix
If you can expose the section and have a bit more time:
- Pipe repair clamp: A rubber-lined clamp that bolts over the leak. Centre it on the hole and tighten evenly.
- Slip coupling (copper or push-fit): For split sections, cut out the damaged bit with pipe cutters and fit a proper coupling (de-burr, clean, push fully home or solder if competent).
- Trap leaks (under sinks): Replace the washer or the trap—often faster and cleaner than bodging.
5) Prevent a repeat: pressure, freezing, support
- Lag pipes in lofts/garages to prevent winter splits.
- Secure loose runs with clips to stop movement that loosens joints.
- If your boiler/PRV dumps water or taps hammer, you may have pressure issues—get a plumber to check the pressure reducing valve and expansion vessel.


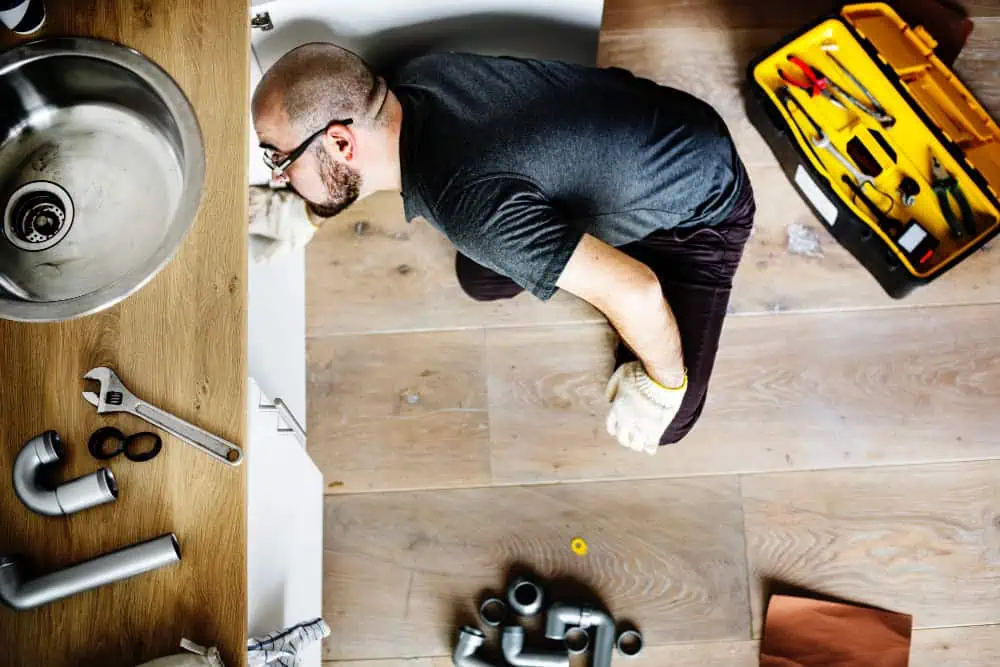
Quick toolkit for UK homes
- Adjustable spanner + water pump pliers (2 pieces)
- PTFE tape, a couple of 15 mm/22 mm olives, isolation valves
- Self-fusing silicone tape / epoxy putty / small repair clamp
- Pipe cutters (for copper/plastic), towels, bucket
When to call a pro—now
- You can’t isolate or the leak restarts after your fix
- Leak near electrics, consumer unit, or ceiling bowing
- Hidden leaks in walls/floors (damp patches, mould, musty smell)
- Boiler, unvented cylinder, or gas-related water heaters
Need help in UK?
We provide same-day Ideal boiler diagnostics and repair across Greater London, and many UK areas—transparent call-out plus hourly or fixed pricing, 24/7 emergency response.
//CONTACT US
Need help fast?
24/7 emergencies, ~1-hour ETA. Certified plumbing, heating/boiler, drainage, gas and electrical engineers—transparent pricing, fully insured, UK-wide. Call or book online.